Previous page : A bit more on graphing under software control
Next page : A bit of my Nspire history
The locus
A classical way to define curves, before the concept of functions, was to use the locus (geometrisk ort in Swedish).
A locus can be defined as a set of points (usually in the plain) that fulfils one or more conditions. A classical example is the ellipse that can be defined as the set of all points such that the sum of the distances to two given points is fixed.
The ellipse
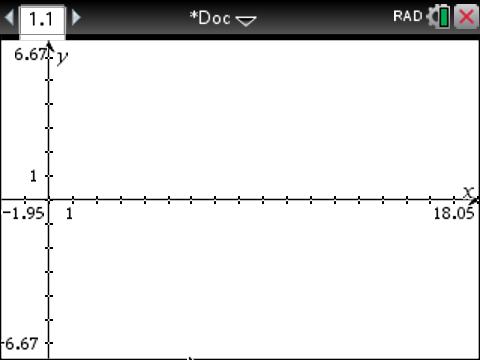
So lets create one. We start with opening a new document and add a graphics window. We move the origin a bit like this:
Next we add a line of the form y=c–x, say y=6–x, (Ctrl-G, )and then we add a point to the line (Under Document Toolbox: Tools, Geometry, Point and lines, Point on, then select a point on the line). One can now hide or delete details that would clutter up the graph, like the coordinates of the point and the equation of the line. This would give us something like this:
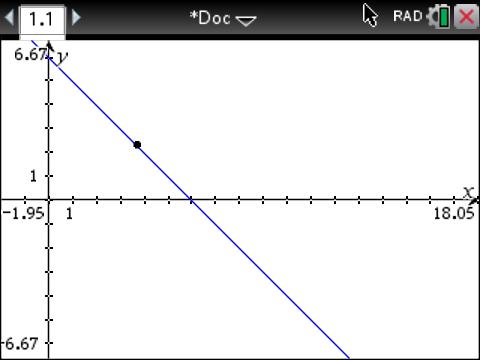
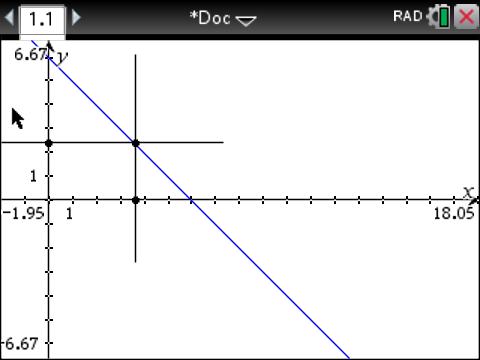
The reason we added the line and the point is that the sum of the vertical distance from the point to the x-axis and the horizontal distance from the point to the y-axis is always 6. A constant. We now add a line perpendicular to the x axis, going through the point, and one line perpendicular to the y-axis, going through the point (Geometry, Construction, Perpendicular, click on the x-axis, then the point, and then the same for the y-axis).
Next we add the intersection points between these new lines and the axes (Geometry, Points and lines, Intersection points, click on the vertical line then the x-axis, and then the same for the horizontal line and the y-axis). We now have:
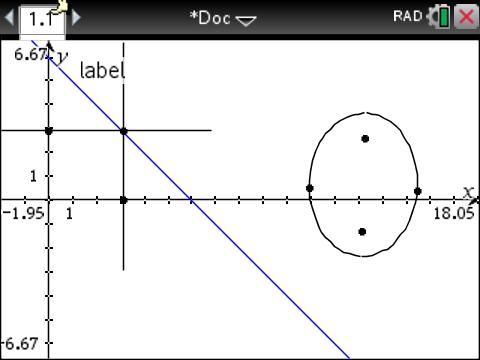
Next we add two points somewhere that will be the foci points of our ellipse. Then we want to transfer the two lengths (from the point on the tilted lines to respective axis) to out two points. We do that using the Compass (passage in Swedish) tool (Geometry, Construction, Compass, click on the point on the tilted line then on the intersection point below it, then on one of out two new points) . We have now constructed a circle around the point, with a radius corresponding to the distance between the two first selected points. Next we do the sane with the vertical distance and our second focus. This gives us something like this:

Then we add intersection points between the two circles.
Now to the cool part. We will add the locus of one of the two intersection points. To do so we select the Lucus tool (Geometry, Construction Locus) then we click on one of our newly selected intersection point, and then finally on the point that the intersection point is ultimately dependent on, i.e. the point on the tilted line. This will add a curve corresponding to the possible location of the intersection point of the circles as the first point slides along the tilted line.

Next we do the same for the other intersection point. Then it is time for some clean-up. We ned to hide the scaffolding. We can hide things we don’t want to be visible by right clicking on it and select Hide.
We now have something like this.
We can now move around the two focus points to get different ellipses.
Now time for some experimenting
Before doing this I suggest you move the two focus points so the are both on the x-axis.
-
- What happens if you move them further apart than 6 units?)
- What happens if you change the definition of the original line? Try with y=6-2x (Ctrl-G, arrow up, edit). What is the conditions for the locus now? Try to move the foci points.
- How about y=sin(x)? See to that you have your angle mode set to radians.
You can find the file here: ellipse.tns.
Previous page : A bit more on graphing under software control
Next page : A bit of my Nspire history